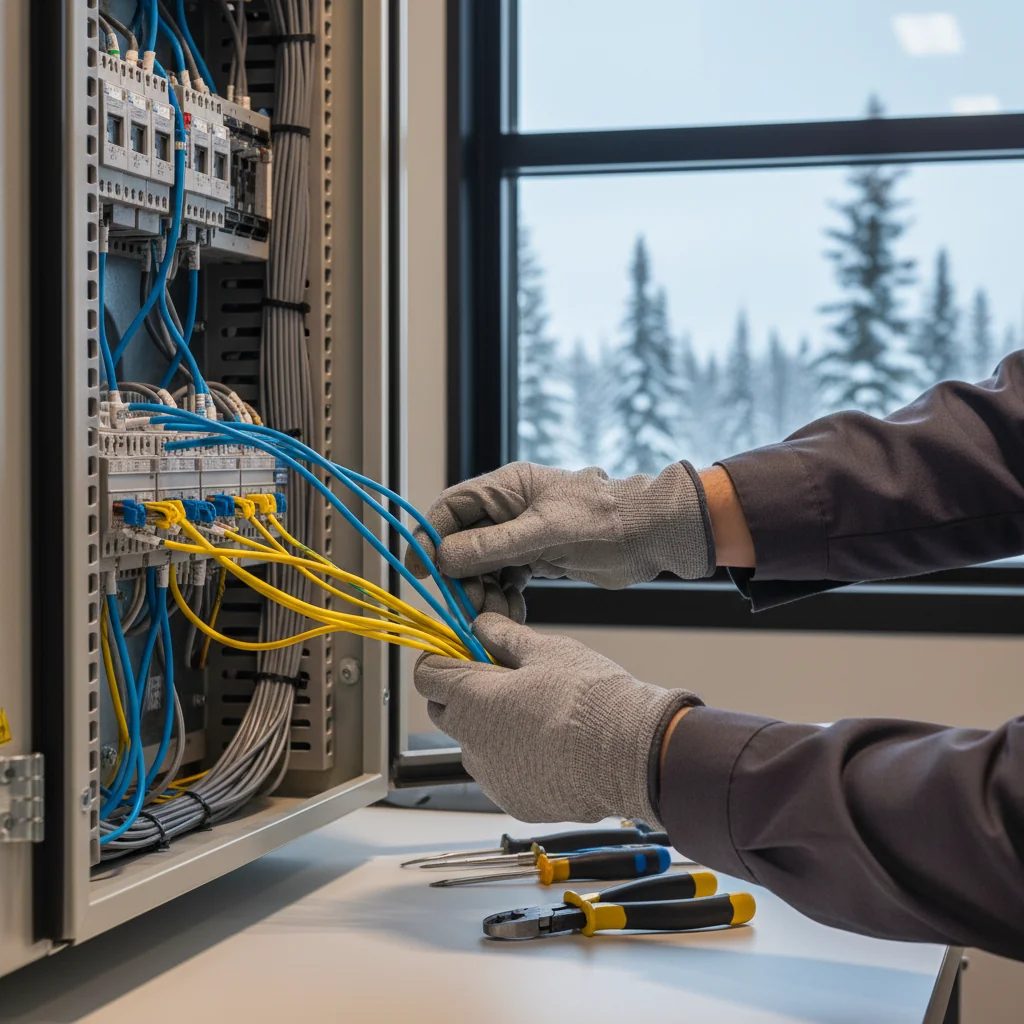
Welcome back to the blog, fellow electricians and industrial enthusiasts! Today, we're diving deep into a critical aspect of any successful industrial operation: instrument installation for industrial sites. This isn't just about plugging things in; it's a meticulous process demanding precision, adherence to stringent safety protocols, and a thorough understanding of complex systems. Improper instrument installation can lead to costly downtime, inaccurate data, and, most importantly, dangerous situations.
The Foundation: Why Proper Instrument Installation Matters
When we talk about instrument installation for industrial sites, we're referring to the careful positioning, wiring, and calibration of sensors, transmitters, gauges, and control devices that monitor and regulate various processes. Think about the massive oil sands operations here in Fort McMurray – every temperature, pressure, and flow rate needs to be accurately measured and controlled. These instruments are the eyes and ears of the plant, providing vital data that ensures efficiency, product quality, and, above all, safety. A faulty installation can lead to catastrophic consequences, from equipment damage to environmental hazards and even loss of life.
Key Considerations in Instrument Installation for Industrial Sites
Performing instrument installation for industrial sites requires a multi-faceted approach. Here are some of the key areas we focus on:
#### 1. Pre-Installation Planning and Design Review
Before a single wire is pulled, extensive planning is essential. This involves a thorough review of engineering drawings, P&ID (Piping and Instrumentation Diagram) schematics, and equipment specifications. We consider factors like environmental conditions (extreme temperatures, vibrations, corrosive atmospheres), accessibility for maintenance, and electromagnetic interference. Understanding the specific purpose of each instrument and its integration into the larger control system is paramount. This pre-planning phase is where we identify potential challenges and develop strategies to ensure a smooth and compliant instrument installation for industrial site projects.
#### 2. Electrical Safety and Best Practices in Fort McMurray
For electricians working on instrument installation for industrial sites in Fort McMurray, electrical safety is non-negotiable. We're often dealing with high voltages, hazardous locations (Class I, Division 1 & 2), and complex control circuits. Our team adheres strictly to the Canadian Electrical Code (CEC) and all provincial regulations. This includes:
Lockout/Tagout (LOTO) Procedures: Absolutely critical before any work begins on energized equipment. Proper Grounding and Bonding: Essential for preventing electrical shocks and ensuring accurate instrument readings. Hazardous Area Wiring: Utilizing intrinsically safe barriers, explosion-proof enclosures, and proper conduit sealing where flammable gases or dusts are present. Cable Management: Neat, organized, and properly supported cabling not only looks professional but also prevents damage and simplifies troubleshooting. * Personal Protective Equipment (PPE): Always wearing appropriate PPE, including arc flash protection, safety glasses, and insulated gloves.
The Installation Process: From Mounting to Calibration
The actual instrument installation for industrial site involves several crucial steps. Once the planning is complete and safety protocols are in place, we proceed with:
Mounting and Support: Instruments must be securely mounted according to manufacturer specifications and design drawings, ensuring stability and protection from vibration. Wiring and Termination: This is where our electrical expertise shines. We ensure correct wiring polarity, proper gauge wire for the current load, and secure terminations to prevent loose connections. Conduit and Cable Tray Installation: Protecting electrical wiring from physical damage and environmental factors is vital, especially in the harsh Fort McMurray climate. Loop Checks and Continuity Testing: Before powering up, we meticulously test all wiring for continuity and correct connections, identifying any errors early. * Calibration and Commissioning: Once installed, instruments are calibrated to ensure accurate readings. This often involves specialized tools and software to match the instrument's output to known standards. This final step is crucial for the overall reliability of the instrument installation for industrial site.
Expert Tips for Flawless Instrument Installation
Read the Manuals: Always, always consult the manufacturer's installation manuals. They contain vital information specific to each instrument. Label Everything: Clear and durable labeling of wires, conduits, and instruments simplifies troubleshooting and future maintenance. Document Thoroughly: Keep detailed records of all installations, including as-built drawings, calibration certificates, and test results. Stay Updated: Industrial technology evolves rapidly. Continuously educate yourself on new instruments, wiring methods, and safety standards.
Ensuring Long-Term Reliability
Successful instrument installation for industrial sites isn't just about getting it right the first time; it's about setting the stage for long-term reliability and performance. By adhering to rigorous planning, prioritizing electrical safety, and employing best practices at every stage, we contribute to the safe and efficient operation of Fort McMurray's vital industrial facilities.
Need expert assistance with instrument installation for your industrial site? Our team of certified and experienced electricians is ready to help. Contact us today for a consultation and let us ensure your project is completed with precision, safety, and compliance.
## Instrumentation in the Oil Sands
Industrial instrument installation on a Northern Alberta oil sands site is a different discipline from commercial or residential electrical work. The environment is unforgiving: ambient temperatures swing from -45°C to +35°C, atmospheres can contain H₂S, methane, and hydrocarbon vapours, and a single mis-calibrated transmitter can shut down a unit worth millions of dollars per day. Our team specializes in the installation, calibration, and commissioning of:
- Pressure transmitters (Rosemount 3051, Yokogawa EJX) for vessel and line monitoring
- Temperature transmitters with RTD or thermocouple inputs (Pt100 4-wire, Type K/J)
- Coriolis and magnetic flow meters (Micro Motion, E+H Promass) for custody transfer
- Level transmitters — guided-wave radar, ultrasonic, and differential pressure
- Control valves and positioners (Fisher DVC6200, Masoneilan SVI-II)
Precision is not just about getting the right reading — it is about operational safety in high-pressure, high-consequence environments. A flow transmitter reading 2% high on a steam line can mask an undetected leak; a level transmitter reading 3% low on a separator can cause gas carry-over downstream.
Hazardous Location Standards (Class I, Div 1 & 2)
Every electrical fitting, enclosure, and cable gland on an oil sands site must be rated for the hazardous classification of the area in which it is installed, as defined by CEC Section 18 and CSA C22.1 Annex J. The two classifications you will encounter most frequently in Wood Buffalo industrial work are:
- Class I, Division 1 — flammable gases or vapours present under normal operating conditions (well-heads, separator decks, pump seal areas)
- Class I, Division 2 — flammable gases present only under abnormal conditions (most process buildings, pipe racks, electrical buildings)
Wiring methods vary dramatically between the two. Division 1 areas typically require rigid threaded conduit (RMC) with explosion-proof fittings, factory-sealed devices, and "Chico" sealing compound poured at every conduit transition into a junction box or instrument enclosure (CEC Rule 18-154). Division 2 allows more flexibility — Teck-90 armoured cable with appropriate glands, MC-HL cable, or aluminum conduit are all acceptable.
> Pro Tip — Specialized Seals: A Chico pour is only as good as the dam fibre installed beneath it. We use Crouse-Hinds EYS and EYD seals with a minimum 5/8" of compound depth, allowed to cure for the manufacturer-specified time before energization. Skipping the cure window is one of the most common deficiencies flagged by SCO inspectors on commissioning walkdowns.
The Importance of Loop Testing & PLC Integration
Before any instrument can be released to operations, every signal path must be verified end-to-end through what the industry calls loop testing or loop checks. This is the rigorous commissioning process that ensures every transmitter communicates perfectly with the plant's Programmable Logic Controller (PLC) or Distributed Control System (DCS) before startup.
Our standard loop-check process follows the IEC 61511 functional-safety framework:
- Point-to-point continuity — verify every wire from the field device to the marshalling cabinet to the PLC I/O card
- Insulation resistance testing — minimum 100 MΩ at 500VDC per IEEE 43
- Calibration injection — apply 4mA, 12mA, and 20mA at the field junction and verify the value at the operator HMI
- HART communication verification — confirm device tag, range, and damping match the loop sheet
- Functional safety test (SIL loops) — proof-test interval verification per IEC 61508
- Alarm and trip testing — force the input and verify the correct interlock action at the final element
> Pro Tip — Site Trailers & Process Buildings: Cold-weather loop checks on the Athabasca region sites should be performed with the heat tracing energized for at least 24 hours prior. Cold transmitters drift, and a calibration done at -30°C will not match an operating reading at +40°C inside an insulated cabinet.
Documentation & Turnover Packages
A complete instrumentation turnover package is the deliverable that closes out a commissioning scope. We provide each client with as-built loop sheets, calibration certificates traceable to NIST/NRC standards, hazardous-area certification stickers, and a final SCO inspection clearance — all stored digitally and indexed by P&ID number. This documentation is what allows operations and maintenance teams to troubleshoot a loop five years after startup without having to chase wiring through the rack.
RELATED TOPICS:
